November 3, 2025
Dial In the Audio Chain
Pick mics, interfaces, and levels that survive long-form conversations.
This article is part of Getting Started with Podcast Recording. Start there if you want the full playbook.
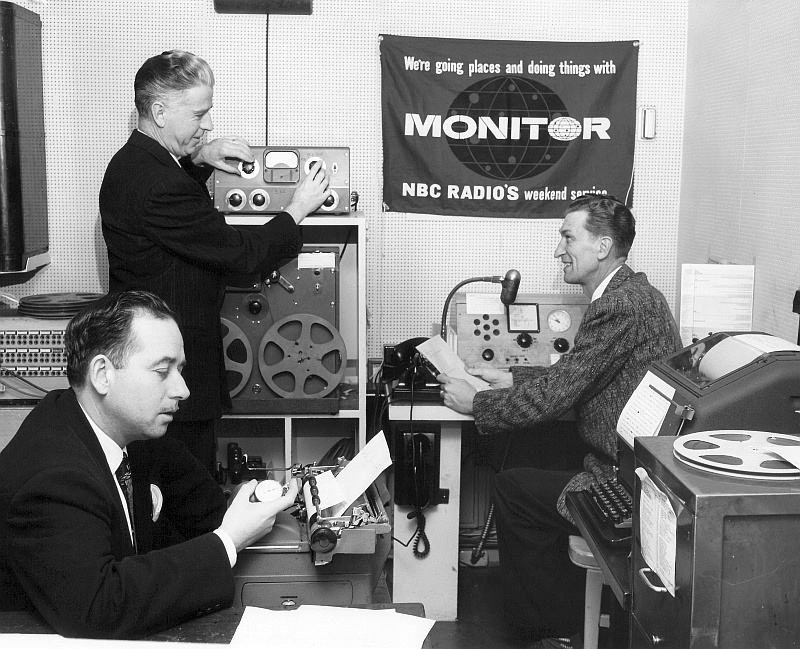 “Monitor” was a weekend NBC network show that began in 1955.
Podcast edits fall apart when the signal chain is unpredictable. Harsh room tone, mismatched gain, or missing backups all lead to the same late-night question: “Can this take be saved?” This guide walks through the calm, repeatable setup that keeps long-form conversations sounding intentional.
Start with mics that match real rooms
Dynamic microphones forgive echo and background noise better than condensers. They capture a tighter bubble of sound and stay happy in the lightly treated rooms most small teams use.
Why dynamic mics win
- They shrug off HVAC hum, traffic, and laptop fans better than budget condensers.
- They avoid phantom-power surprises; most dynamics never need it.
- They are built for close-up vocals, so hosts can stay within three fingers of the grill and keep tone consistent.
Add foam windscreens to tame plosives and stop nervous guests from breathing straight onto the capsule.
Choose an interface that fits your duo
You don’t need a studio rack—just hardware that travels easily and gives a confident readout of levels.
- Two-channel USB interfaces (Focusrite 2i2, Motu M2, SSL 2) shine when a laptop is nearby. They provide meters, hardware gain knobs, and a clean USB feed to the DAW. Set the session to 48 kHz so footage and audio stay in sync later.
- Hardware recorders (Zoom P4, Tascam Mixcast, Rodecaster) keep the laptop closed, print files to SD card, and often include mix-minus or soundboard tools.
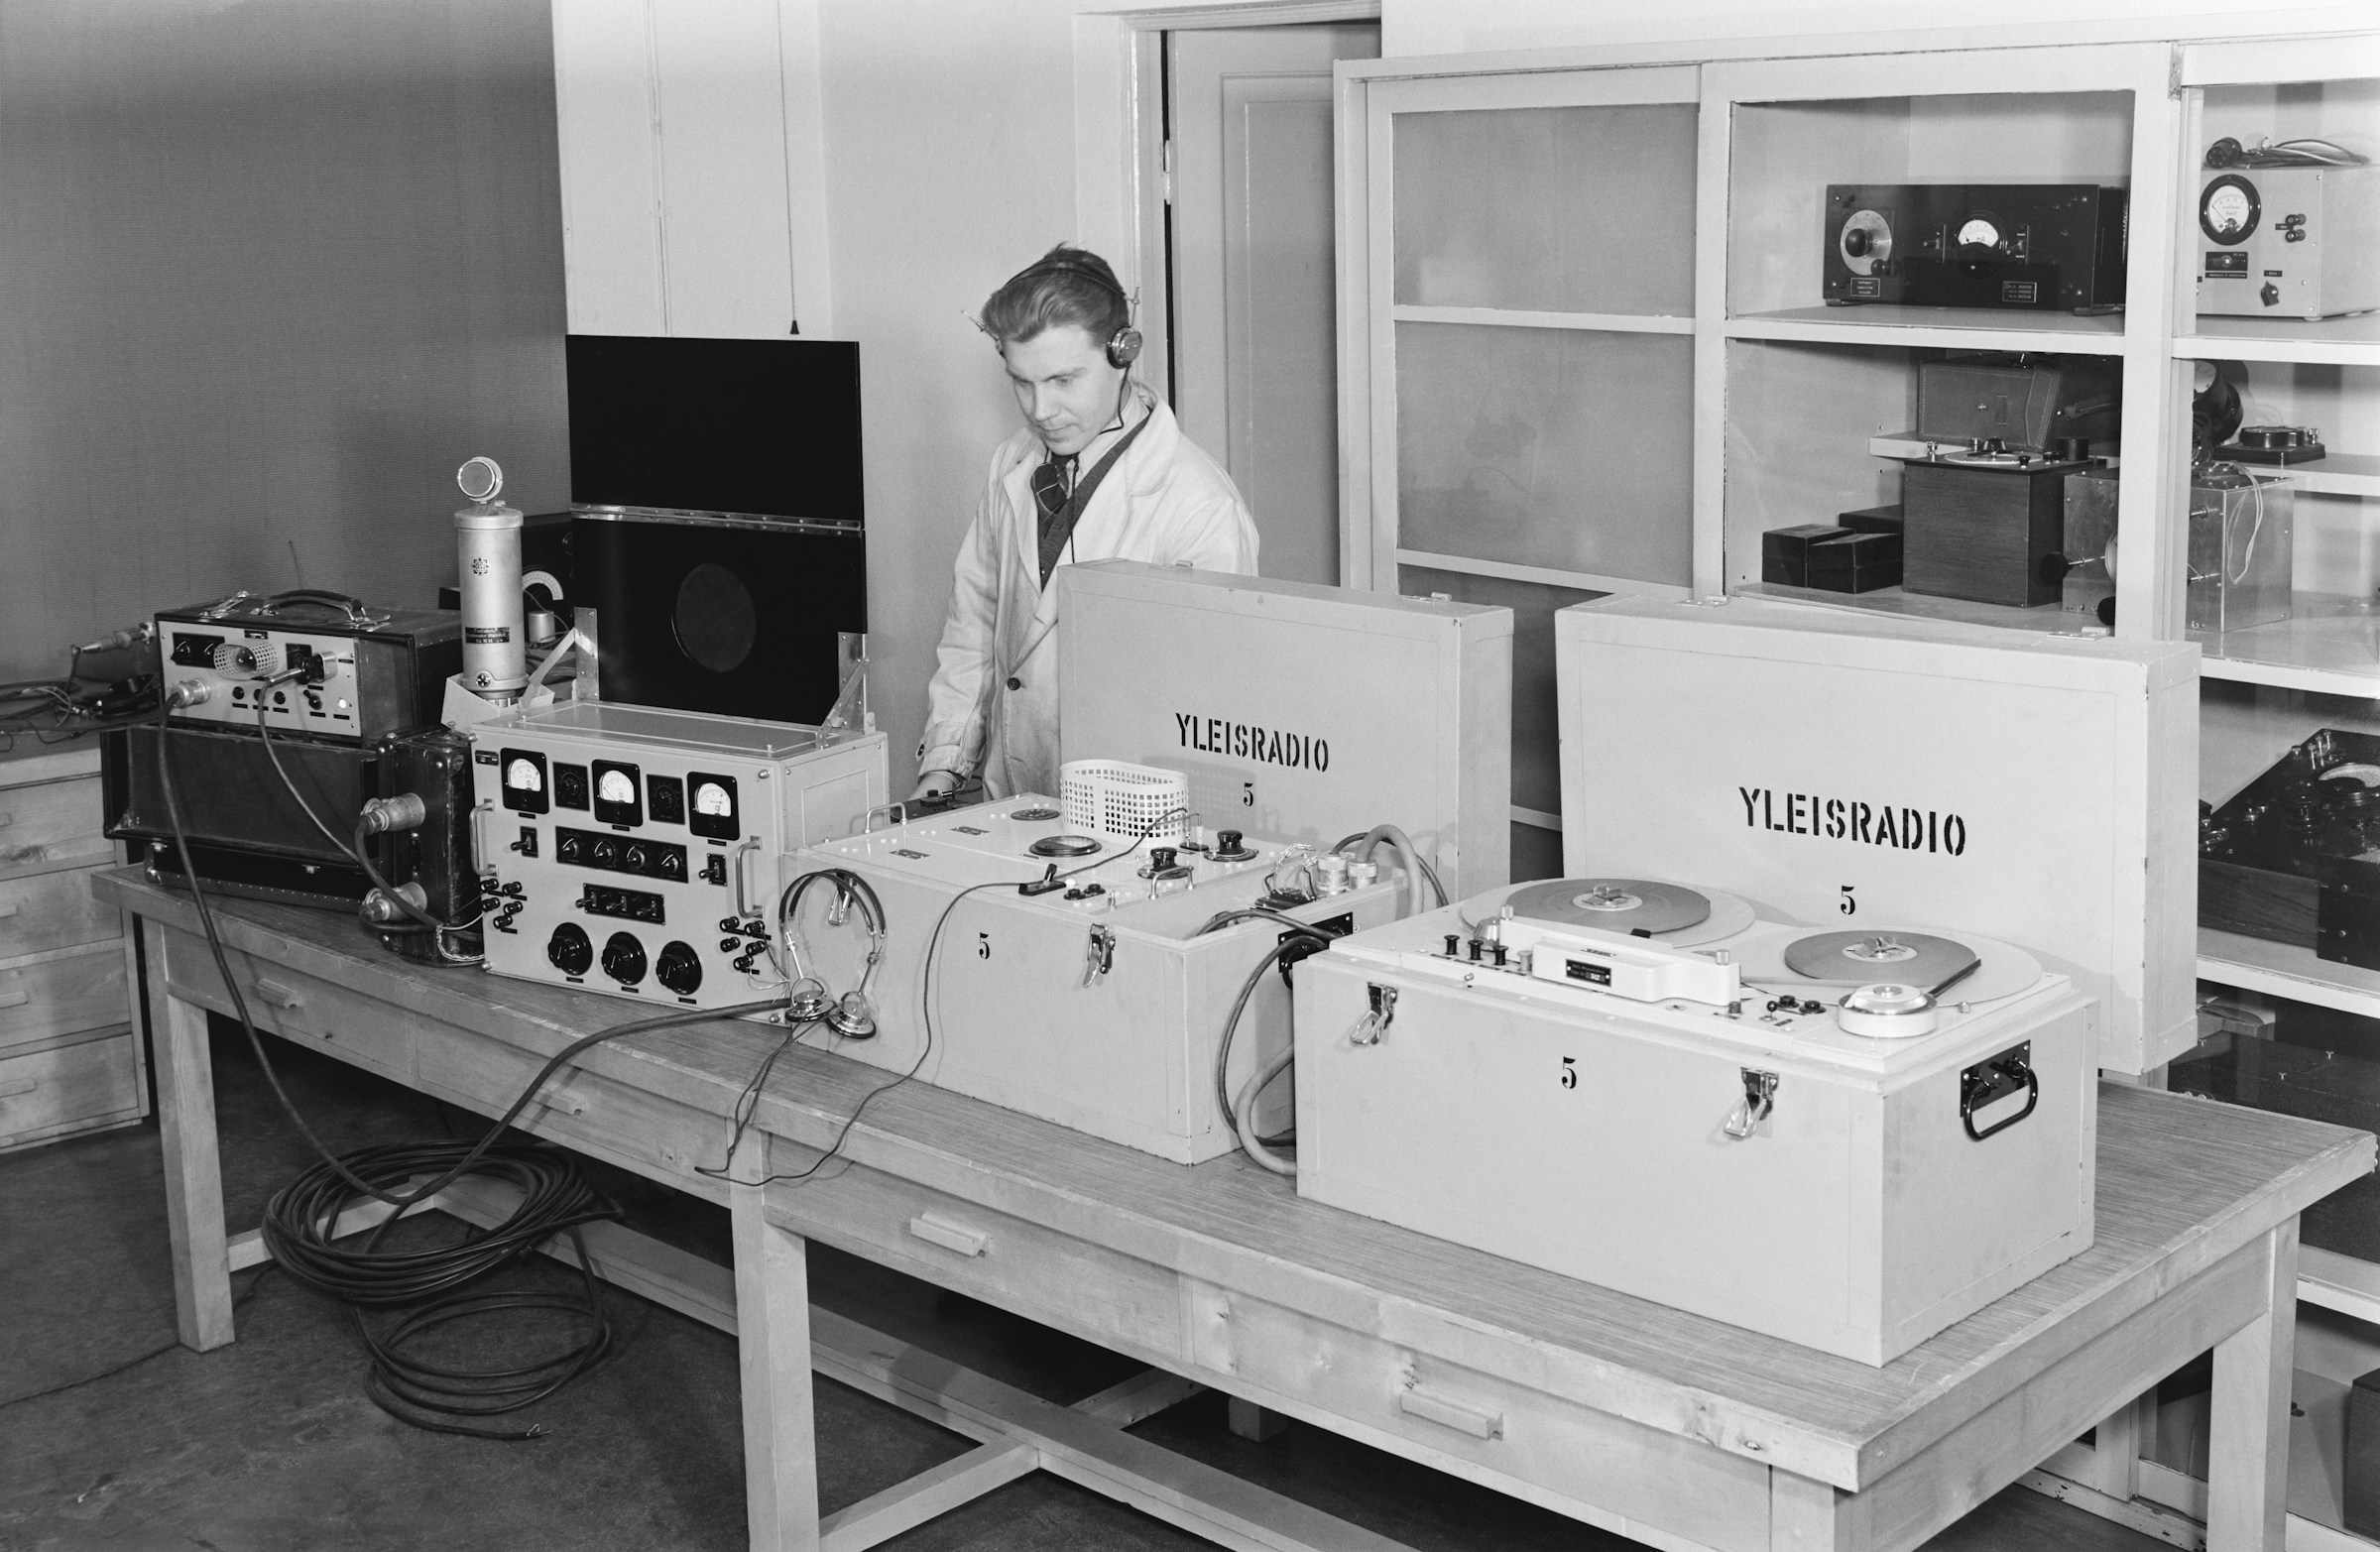
Yleisradio, Finland, 1958
Whichever route you choose, keep cables short and balanced (XLR for mics, TRS for monitors) and label both ends. Fast setup turns into a habit when every lead has a home.
What about USB mics or wireless kits?
- USB stand-alone mics reduce cable clutter for solo hosts or quick interviews, but each mic needs its own USB port and driver. They’re practical for single-seat shows and less reliable for multi-person conversations where sample-rate drift can creep in.
- All-in-one podcast mics (think Elgato Wave bundles or Rode X kits) ship with software routing and onboard processing. Convenient, yes, but they lock you into proprietary apps and can add latency if the computer struggles.
- Wireless lav or headset kits keep tables clear—great for on-camera shows or presenters who move around. They demand fresh batteries, a clean RF environment, and disciplined monitoring in case a channel drops.
Consider USB or wireless setups as stepping-stones. Once the show settles into a rhythm, graduate to XLR dynamics for maximum reliability.
Set levels step by step
Use the same gain ritual every time so each take starts inside a safe zone:
- Power only what needs it. Leave phantom power off for dynamics such as SM58s or PodMics; activate it only for condensers or inline boosters that demand it.
- Ask hosts for their loudest moment. Have them retell the funniest prep question instead of counting to ten.
- Raise gain until peaks hover around −12 dBFS. Interface meters should sit in the yellow; waveforms in the DAW stay rounded, never squared off.
- Engage pads, limiters, or dual-record modes if available. A safety track at −10 dB buys peace of mind.
- Record a short test and listen on closed-back headphones. Adjust mic position or distance before touching EQ.
Snap a photo of the gain knobs or save the digital preset so the next session starts from the same baseline.
Let everyone monitor their way
Two hosts can stay on top of pacing with or without headphones. Pick the approach that matches their comfort level.
- With headphones: Use direct monitoring on the interface so there’s no latency. A simple Y-split keeps budgets tidy; a compact headphone amp (Behringer HA400, Mackie HM-4) gives each person a volume knob. Headphones expose plosives and mic drift early.
- Without headphones: Keep the room even quieter. Seat hosts close, watch meters more often, and plan short pauses to review clips if something sounds off. Speakers seem tempting, but they loop audio straight back into the mics—avoid them unless you have confident echo cancellation.
Build a redundancy plan
No session is truly calm without a backup. Test one of these before guests arrive:
- Record a safety track on a handheld recorder such as a Zoom H1n placed between hosts. It isn’t the hero take, but it saves an episode if an interface crashes.
- Run a second app on the laptop (QuickTime, Audio Hijack) capturing the same inputs at lower gain.
- Enable dual-track mode on hardware recorders so each channel prints a quieter copy.
Keep spare SD cards and fresh batteries in the kit. Many “audio emergencies” are just dead AAs.
Drop in a gentle safety chain
A light limiter or compressor on the monitoring bus helps spot problems early. Treat these numbers as starter settings while you learn the knobs:
- Ratio 2:1, attack 10 ms, release 100 ms.
- Threshold so only the loudest peaks tap 2–3 dB of gain reduction.
- Brickwall limiter at −1 dBFS on the DAW bus to catch anything wilder.
Use the chain for monitoring rather than printing so the recorded files stay clean. Save it as a preset once it feels right. If compression is brand-new, leave the chain off for the first few sessions—solid gain staging already protects the signal.
Fix mid-session mishaps without panic
If a mic dies, mute the channel, swap to a spare, or move both hosts to a single mic and coach them to take turns. A shared mic sounds cozy, not broken, as long as everyone leans in.
If the interface glitches or you hear pops, stop the recording, power-cycle the device, and roll again while the backup keeps running. Mark the timestamp so you can cut around it later.
If a cable crackles or loosens, pause politely: “Let’s grab a quick reset while we tidy this cable.” The calm tone keeps the conversation on track.
Save it once, reuse forever
Before you publish, run your final export through a loudness check to make sure it hits platform targets — our podcast loudness guide explains the numbers.
After every session, archive the interface preset, DAW template, and file naming convention. A folder called podcast-template should include:
- Interface snapshots (photos or manufacturer presets).
- DAW templates with armed tracks, limiter chain, markers, and export settings.
- A text file noting which cables belong in each bag.
The next setup becomes “plug in, load template, roll.” Less thinking, more conversation.
What’s next
Spend thirty minutes this week wiring your chain, running the gain ritual, and labeling your backups. Export a short test episode and notice how calm the timeline looks when you drop it into your editor—clean peaks, no clipping, no mystery noise. Next in the series comes a guide to prepping the humans so they feel as ready as the gear.